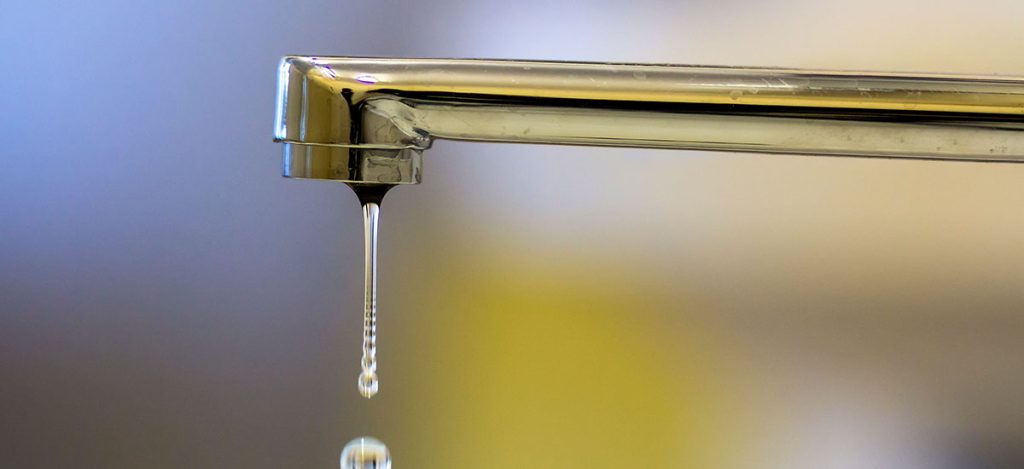
Fixing a leaky faucet isn’t just about silencing that annoying drip. It is about conserving water, preventing damage to your sink, and keeping your house running smoothly.
Whether the faucet leak comes from a worn washer, an O-ring, or a malfunctioning cartridge, this guide will walk you through how to diagnose and repair it.
You will need some basic tools like an adjustable wrench, flat head screwdriver, needle nose pliers and materials such as new washer, O rings, and plumber’s grease, along with patience and a towel to protect your workspace.
1. Gather Tools & Materials and Prep the Area
Start by shutting off the water supply valves under the sink to stop both hot and cold water flow. If you cannot access them, shut off the main water supply to the house. Then open the faucet handle to bleed the system.
Lay a towel in the drain to catch any small parts that might fall. Gather your tools including an adjustable wrench, flat head screwdriver, a wrench (crescent or basin), needle nose pliers, and whatever repair parts you have (like new washer, new cartridge, O rings, etc.). Protect the faucet finish by wrapping it with tape if needed.
2. Identify the Faucet Type
Knowing whether you have cartridge faucets, a ball faucet, compression (double handle), or single-handle faucets dictates your repair. A ball faucet usually has a single spherical handle. Cartridge faucets may control both hot and cold with one lever.
Double handle (compression) versions use separate hot and cold controls. A ceramic disk style and other advanced faucets are also common.
3. Removing the Handle
Use a flat head screwdriver to pry off the decorative cap or aerator, revealing a set screw. For double handle or single-handle faucets, loosen the set screw with either a screwdriver or Allen wrench. Then pull the faucet handle off gently.
4. Access and Inspect Internals
Under the handle, you will typically find a packing nut, valve stem, or retainer. Use your adjustable wrench to loosen and unscrew the packing nut. Then pull out the stem or cartridge. Lay all small parts including springs, gaskets, washers on your towel.
5. Diagnose the Leak and Replace Parts
- Compression (double-handle) faucet leak: Often caused by a worn washer or O-ring under the valve stem. Remove and replace the washer with a new washer. Replace the O rings as needed. Apply plumber’s grease for smooth action. If the valve seat is corroded, you may need to sand or replace it.
- Cartridge faucets: Remove the retaining clip, pull out the old cartridge, inspect for damage. If the old cartridge is warped or sealed incorrectly, replace with a new cartridge. Lubricate O rings before installing the replacement.
- Ball faucet: Remove the ball assembly with needle nose pliers, take out the springs and rubber seats, then replace them. Align the ball, gasket, and cap during reassembly.
- Ceramic disk faucets: Remove the cylinder and neoprene seals, clean mineral deposits with white vinegar, then install new seals.
6. Reassemble Carefully
After replacing the necessary parts:
- Reinsert the stem or cartridge assembly.
- Thread the packing nut back on without over-tightening.
- Add a dab of plumber’s grease to O-rings to protect them.
- Replace the faucet handle, securing it with the set screw.
- Reinstall any aerator or cap.
7. Test for Leaks
Gradually open the water supply valves under the sink. Turn on both hot and cold water to check performance. If the leak persists, you may need to revisit the seal or consider replacing the entire faucet. Otherwise, enjoy a drip-free sink.
Why Fixing a Leaky Faucet Matters

- Even a slow drip can waste thousands of gallons annually.
- A faucet leak under pressure can damage your sink, countertop, or cabinet.
- DIY repairs save both time and money over calling a plumber.
- It builds confidence to handle future repair tasks and it is satisfying.
Tips and Troubleshooting
- Use plumber’s grease on all O rings and screws for smoother motion and longer life.
- Do not over-tighten nuts or screws since this can strip threads or crack components.
- If the leak persists even after parts replacement, the valve seat or valve body may be worn.
- For stubborn ceramic deposits, soak parts in white vinegar to clean before reuse.
- Always bring the old part (washer, cartridge, stem) to the hardware store to ensure an exact match.
Common Questions (Voice Search Friendly)
How to fix a leaky faucet
Turn off the water supply, remove the faucet handle, replace worn components like washers, O rings, or cartridges, then reassemble and test.
Why does leaky faucet hot and cold water leak
Worn hot or cold water seals (washers or O-rings) allow water to escape. Replace to stop dripping.
What tool is best to remove a packing nut
An adjustable wrench or crescent wrench works best. Be careful not to damage the finish.
The Bottom Line
Now that you have learned how to fix a leaky faucet, you can tackle drips in the bathroom or kitchen with confidence. Armed with your tools, a replacement new washer, O-rings, plumber’s grease, and this step-by-step guide, you can stop leaks, save water, and avoid expensive repairs. If the leak persists, do not hesitate to consult a professional like Chambliss Plumbing Company. Your home’s health is worth it.


