Behind your seamless showers lies a pivotal component: the shower valve rough-in depth. This specific depth at which the valve is placed within your wall is the cornerstone for water flow. Think of it as the conductor behind a symphony, directing the water’s rhythm and flow.
Understanding Shower Valve Rough-In Depth
At first glance, it seems just a technical detail. But this depth is foundational, like laying the groundwork for a skyscraper. Get it right, and everything builds smoothly upon it. It’s that small cog that ensures the entire machinery functions flawlessly.
Why is this Depth So Crucial?
Have you ever been in a shower where the temperature swings? Or the pressure acts moody? Many of these challenges stem from an incorrect rough-in depth. It’s like wearing shoes of the wrong size. It might work, but it won’t be comfortable.
Things to Consider for Shower Valve Rough-In Depth
Wall Thickness:
Each wall differs, from thick or thin. Their thickness or thinness directly impacts your valve’s depth – like selecting an art piece’s frame.
Type of Finish:
Your choice of tiles, paint or wallpaper adds layers to a wall; like adding toppings on a pizza; its base depth changes with every layer you add.
Valve Type:
Each valve is different, each having its own set of requirements – much like how a specific phone model requires its own charger type.
Future Renovations:
Planning ahead is smart; anticipate future changes so your current setup remains adaptable. Consider creating a flexible home office.
Shower Valve Rough-In Installation & Process
Implementation requires patience, precision and an in-depth knowledge of plumbing. If you’re not comfortable tackling this yourself, our licensed San Antonio plumbers can handle the installation for you. Installing a shower valve doesn’t have to be rocket science; but for maximum effectiveness and peace of mind it must be installed correctly. In plumbing an inch counts! Let’s piece this puzzle together.
Mark Your Spot:
Begin your process with vision and clarity. Visualize where you would like the valve installed, and mark its location – this step acts like planting a flag on uncharted land to denote where your foundation will be set up.
Cut Out the Space:
Once you’ve decided on a location, use cutting tools carefully to clear away space. Remember not to force cuts – instead make precise ones using tools that ensure accurate cuts akin to tailoring fabric with precision.
Attach the Valve:
As with anchoring a ship, anchoring the valve securely is essential. A strong anchor is less likely to drift and should remain fixed securely to avoid potential issues in the future.
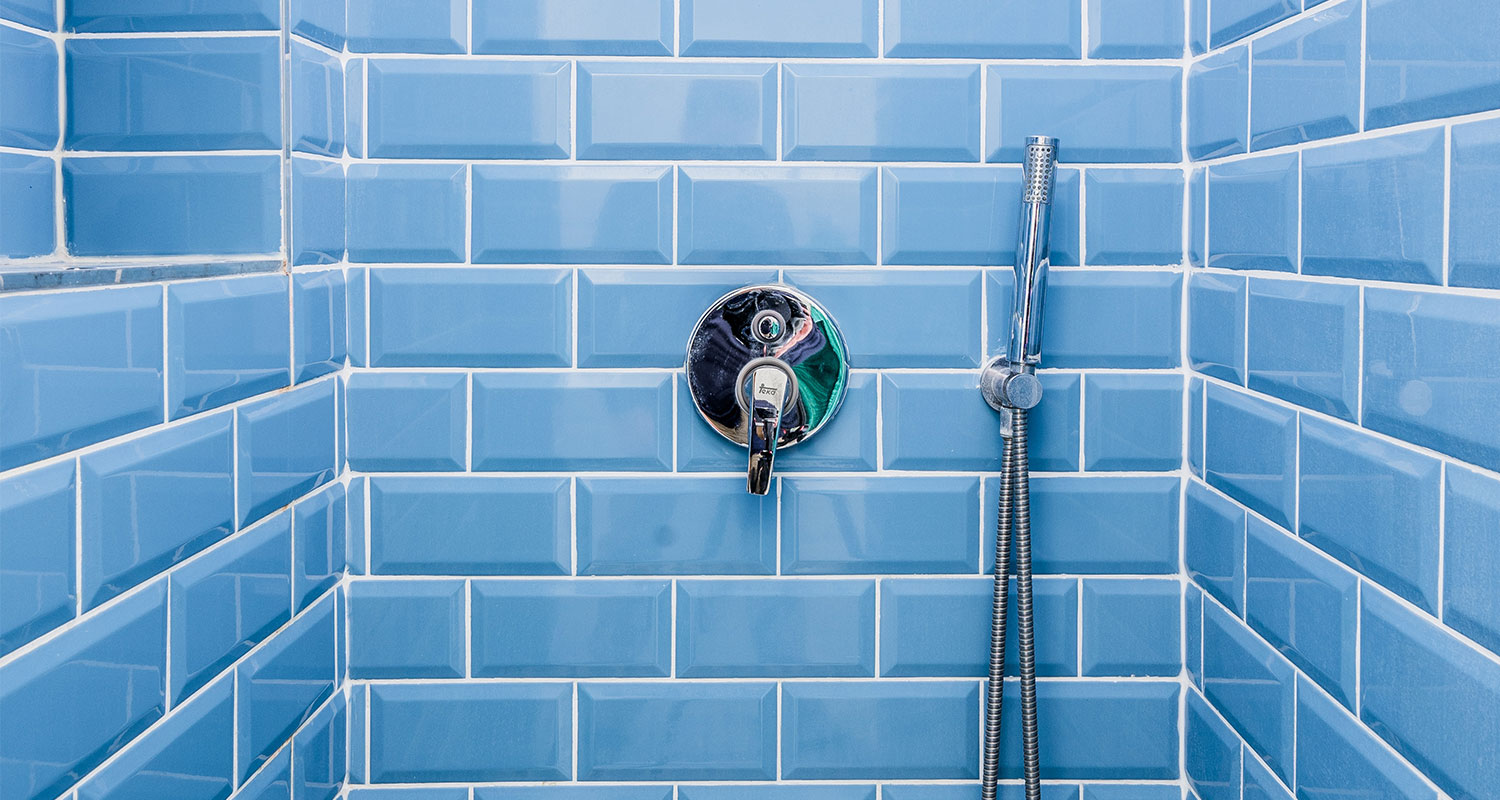
Determine the Depth:
Now, consider factors like wall type when deciding upon depth. Achieving optimal depth will allow for seamless functioning – it’s like tuning a guitar to its perfect note; its melody depends on it!
Secure Everything:
This step is all about double-checking and solidifying. Once everything is in its place, secure it by setting it under a frame or cover.
Test It Out:
Never seal a deal without first conducting an evaluation of some sort. Put yourself through an experiment (literally!). Check for leaks or inconsistencies. If you’re unsure about the results, scheduling a plumbing inspection can give you peace of mind before sealing everything up.
The Magic Number: The Depth the Shower Valve Should Be Set At
Though 2.5 to 4.5 inches is generally advised for bathrooms, each individual’s conditions will dictate otherwise. Therefore, when setting this goal in your own bathroom it should always take into account both international and local influences to create harmony among melodies and rhythms.
Wrapping Things Up
Shower Valve Rough-In Depth is not just an academic concept – it forms the core of our daily showering experience! Paying close attention to its details ensures rejuvenating moments while bathing under a stream.
At each step in its installation process, rough-in depth plays an instrumental role in our bathrooms. Just as an orchestra’s conductor ensures harmony among its players, so does rough-in depth guarantee an effortless dance of water each time someone steps into their shower stall or tub.
So when planning your bathroom renovation or just enjoying its consistent flow, stop and consider all that lies beneath its surface. Remember and value its depth.
Related: What is Rough-In Plumbing?
FAQs
What is the average shower valve rough in height?
The average shower valve rough-in height is typically set at 48 inches above the shower floor for tubs and between 42 to 48 inches for showers.
However, this will depend on personal preference and bathroom design. Always consult professional or manufacturer guidelines for optimal placement of bathroom fixtures.
Why is my shower valve not flush with the wall?
If your shower valve doesn’t sit flush against the wall, there could be several causes; most often due to an incorrect rough-in depth during installation.
Differing wall thickness, use of different materials or changes to your home structure are also potential concerns that must be checked for. If the issue persists, contact a professional for plumbing repair and maintenance to ensure proper installation.