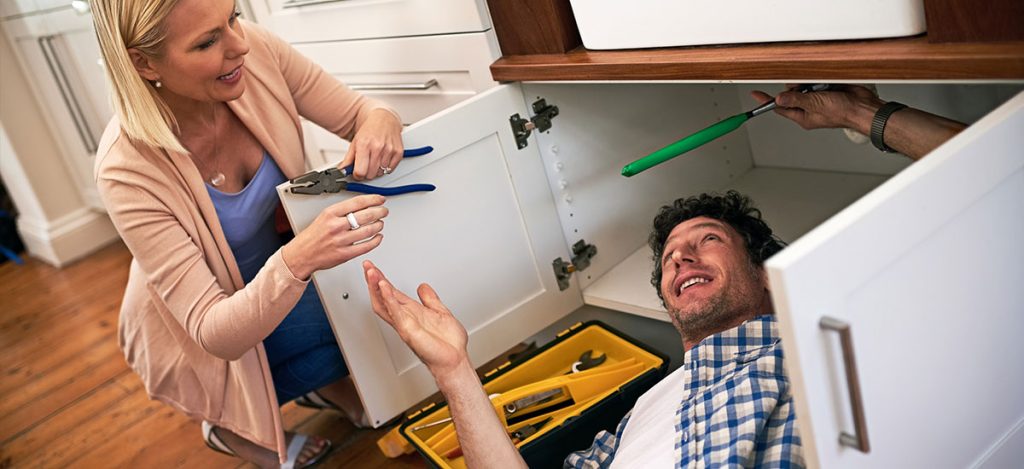
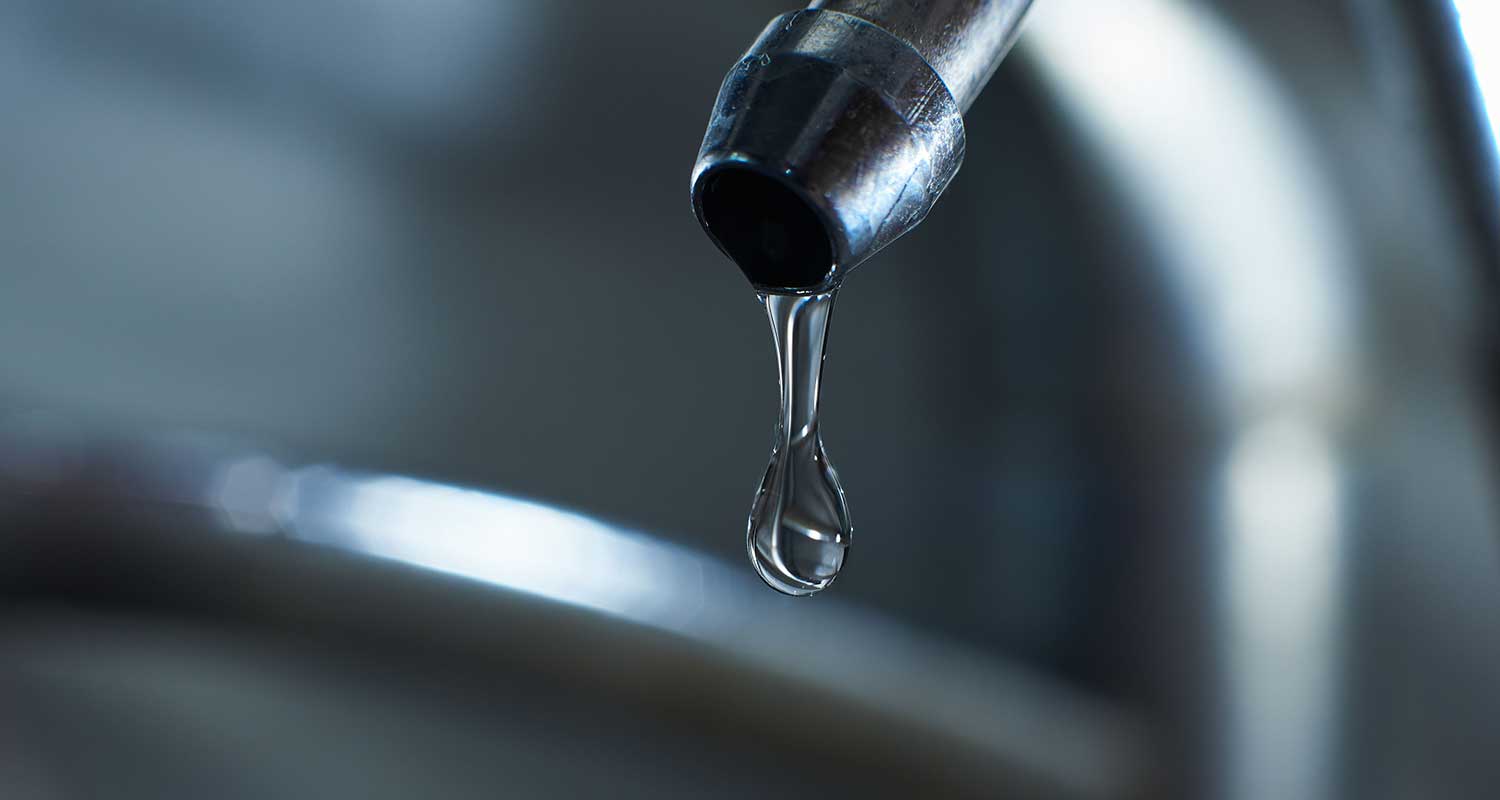
A dripping faucet isn’t just an annoying leaky faucet, it could be wasting gallons of water, leading to water damage, and raising your bills. Homeowners can often fix these leaks themselves using simple tools like an adjustable wrench from the hardware store.
In this guide, we’ll walk you through how to identify the cause, whether it’s a worn washer, faulty O ring, or corroded valve seat, and how to repair it step by step. Plus, find tips to prevent leaks and when to call a licensed plumber.
Common Causes of Faucet Leaks
- Worn washer or seat washer: In compression faucets, worn rubber washers lose their good seal.
- Damaged valve seat or valve stem: Corrosion here causes continuous slow drips, even after washer replacement.
- Degraded O ring or packing: Leads to leaks under the faucet spout or around the base.
- Faulty cartridge faucets: Cartridge type faucets rely on cartridges and internal parts—if these fail, leaks follow.
- Excessive water pressure: High pressure can accelerate wear in all other components.
Tools & Materials You’ll Need
- Adjustable wrench (found at your hardware store)
- Screwdrivers (flat and Phillips)
- Seat wrench for valve seat
- Spare washers, O rings, and cartridge replacements
- Brass screw, packing nut, retaining nut
- Plumber’s tape and grease
- Towel or sink plug to protect faucet spout and catch parts
Step-by-Step Fix

- Shut the water supply: Under the sink, turn off the hot and cold water supply valves. Open the faucet, allowing pressure and water to drain.
- Cover the sink with a towel or plug to prevent losing small components.
- Remove the decorative cap and unscrew any brass screw or handle fastener with a screwdriver.
- Use the adjustable wrench to loosen the packing nut and lift the valve stem or cartridge out.
- Inspect parts:
- Worn washer: Replace with an exact match.
- Damaged O ring: Swap it out.
- Failing cartridge: Replace the whole cartridge type or stem unit.
- Corroded valve seat: Remove using a seat wrench, clean or replace it.
- Clean components with a cloth; apply plumber’s grease to O ring or seal points.
- Reassemble everything in reverse order: packing nut, stem/cartridge, handle, decorative cap.
- Turn water supply back on, run both cold and hot water to flush out debris. Check for further faucet leaks under normal water flow.
- Ensure the faucet has a good seal, no dripping faucet remains, and water pressure is stable.
Special Notes on Faucet Types
- Leaky compression faucets: You may need to replace seat washer or re-surface valve seat.
- Cartridge faucets, including single handle faucets and some bathroom faucet or kitchen faucet models, often require full cartridge replacement if worn.
- Valve stem repairs: If leaking from the stem, replacing the packing nut or packing washer can stop leaks.
Preventive Maintenance
- Periodically clean the faucet spout and aerator to reduce mineral buildup.
- Check and replace worn washers, O‑rings, or cartridges before leaks escalate.
- Monitor water pressure—installing a regulator helps prevent wear-related leaks.
- Lubricate internal parts and avoid over-tightening handles to protect seals.
DIY or Call a Professional?
DIY works well if:
- Leaks are caused by worn washers, flexible O ring, or damaged cartridge.
- You have basic plumbing tools, including an adjustable wrench and can access the hardware store.
- You’re comfortable with turning off water and unscrewing parts.
Call a licensed plumber if:
- Leaks persist after repairs.
- Significant corrosion of valve seat, spout, or internal components.
- Home shows signs of water damage.
- You’re dealing with intricate cartridge faucets, multiple leaks, or lack confidence.
The Bottom Line
Repairing a leaky faucet saves water, prevents damage, and keeps your sink working smoothly. Whether your faucet leaks from the valve seat, stem, or cartridge, you now know how to fix dripping faucet problems using basic tools and parts from the hardware store.
Just remember to shut off the water supply, work methodically, and test thoroughly. For stubborn leaks or complex issues, a quick call to a licensed plumber ensures a reliable fix.
What to do next
If you’ve followed the steps above and your leaking faucet is still causing problems, or you’re just not comfortable handling plumbing repairs yourself, Chambliss Plumbing Company is here for you.
We’ve proudly served the San Antonio area and surrounding communities since 1991, offering professional, prompt, and trustworthy plumbing services. From leaky compression faucets to full kitchen or bathroom faucet replacements, our experienced team knows how to get the job done right, the first time.
Need assistance now? Schedule an appointment or give us a call at (210) 490‑7910 to speak with one of our plumbing experts. We’re happy to help you prevent leaks, fix damage, and restore proper water flow to your home.
👉 Don’t wait—let Chambliss take care of your faucet today!
FAQs
Q: How much water can a dripping faucet waste?
A: A single dripping faucet can waste up to 3,000 gallons a year, significantly raising your water bill and risking water damage.
Q: Can I fix a leaking faucet myself, or do I need a plumber?
A: Many common faucet leaks caused by worn washers, O rings, cartridge, or valve seat can be resolved DIY. Call a licensed plumber if corrosion is extensive or leaks persist.
Q: What tools do I need to repair a dripping faucet?
A: Essentials include an adjustable wrench, screwdrivers, seat wrench, replacement parts (washer/O ring/cartridge), plumber’s tape, and pipe grease—easily found at your hardware store.
Q: How long does a faucet repair usually take?
A: Most leaky faucet repairs take 30–60 minutes. Replacing a cartridge or valve seat might take up to 2 hours for beginners.
